Build Your Own
Choose the version that's right for you. Both are fully open source with step-by-step guides.
Learn more about the different options
LightningPiggy began with a simple idea and a C++ codebase running on LILYGO hardware via the Arduino development environment. After months of iteration, we shipped something we were proud of - but one thing nagged at us. The code wasn't as accessible as we wanted. If we were serious about helping kids develop real STEMM skills by tinkering with their own piggy banks, we needed a codebase they could actually read, understand, and make their own.
So we started over. Our lead developer Thomas built an entirely new lightweight operating system from scratch using MicroPython, designed to run on any ESP32-based board. That foundation became the launchpad for the first MicroPythonOS app - and the beginning of the LightningPiggy 'p' series. P for Python, or P for Piggy? We'll let you decide.
Lightning Piggy Classic
Arduino-based
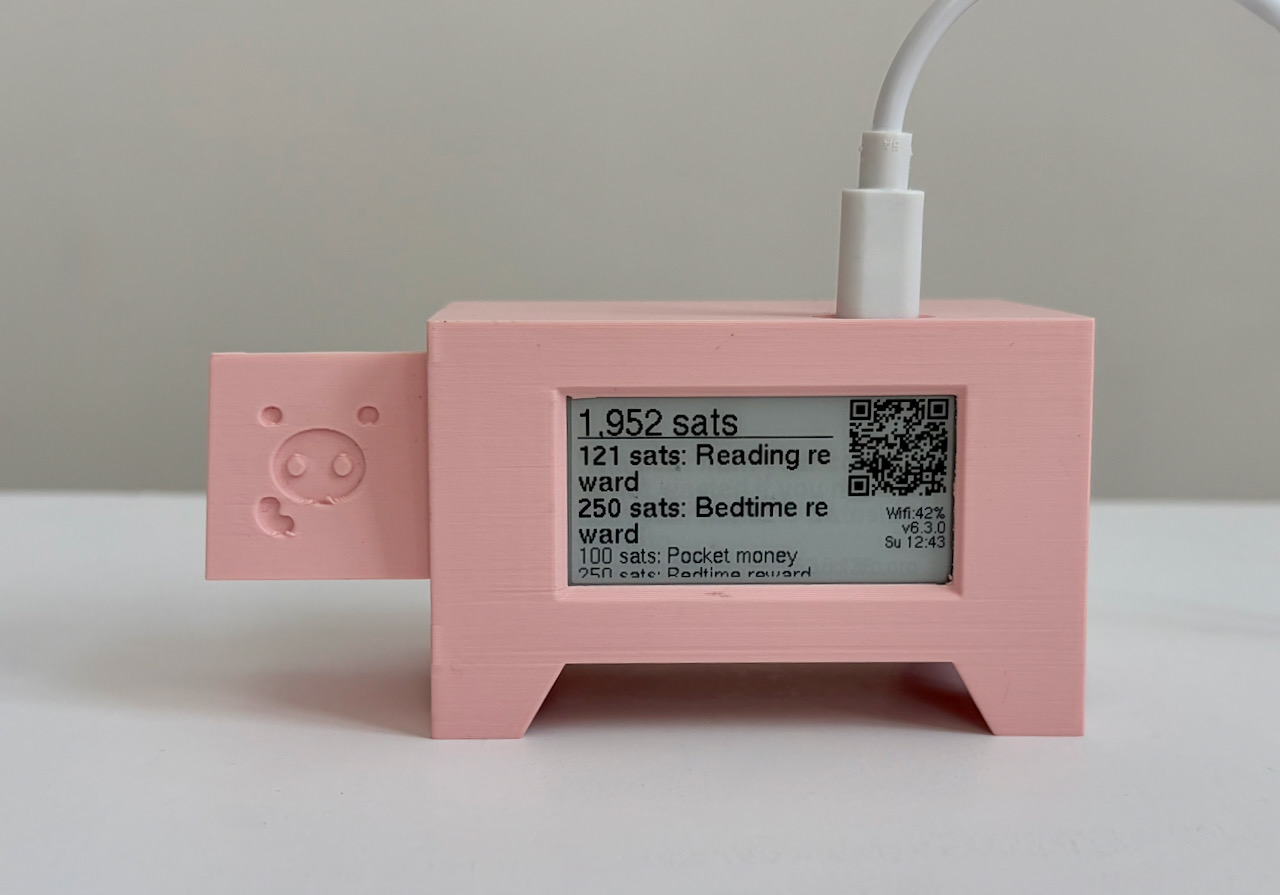
The original Lightning Piggy - Arduino-based firmware designed for LILYGO T5 boards, supporting both 2.13” and 2.66” e-paper displays. Displayed here in a “Genesis Piggy” 3D printed case.
- E-paper display (paper-like, low power)
- LILYGO T5 board
- Battery or USB powered
Lightning Piggy p1
Runs on MicroPythonOS
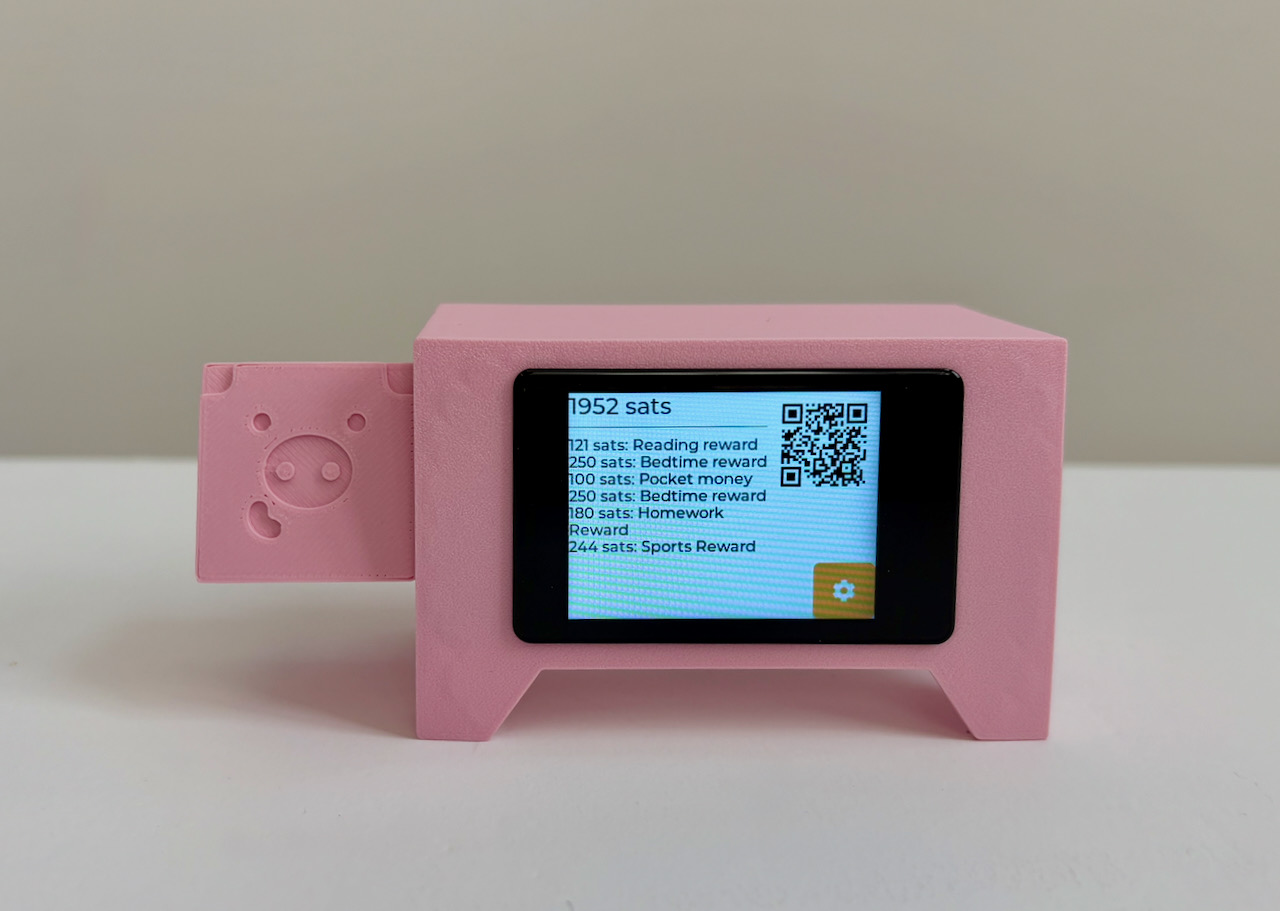
Our first piggy running on MicroPythonOS. Using the latest WaveShare ESP32-S3 board with a 2 inch colour touchscreen display. Displayed here in a "Genesis Piggy" 3D printed case.
- Colour LCD touchscreen
- Onboard camera for easy setup
- MicroPythonOS (learner friendly)
Need a case?
Browse community-designed enclosures or create your own. 3D printable, laser-cut, or DIY options available.
Browse Cases →Guides
Step-by-step guides to help you set up your Lightning Piggy.
Tools
Handy utilities for your Lightning Piggy build.
WiFi QR Code Generator
Generate a scannable QR code to share your WiFi network instantly. Great for setting up your Lightning Piggy.
NWC & Lightning Address QR Generator
Generate a QR code from a Nostr Wallet Connect string or a Lightning Address.
LNbits ZapRewards! - QR Code Generator
Generate scannable QR codes for your LNbits LNURL pay links.